go back to Part 1: Mounting the ATX power supply
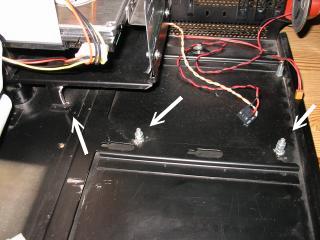
First, I added two screws which for which I had to drill new holes into the bottom of the case. Additionally, I had to bend one of the plates that support the left bay (when viewed from the front) of the original IBM XT 5 1/4 full size hard disk/diskette drives. Otherwise, the mainboard would touch the plate and it would not fit into the case.
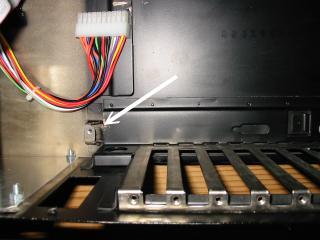
And I had to mill the rear left support for the mainboard (viewed from rear) so the support would not short circuit the mainboard:
As you can see in the next picture, I also had to rasp/mill the lower corner of the left slot so the outer lock of the outer DIMM memory slot would fit beneath the slot:
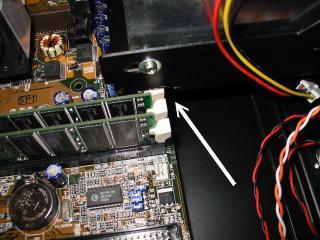
However, this DIMM slot it unusable:

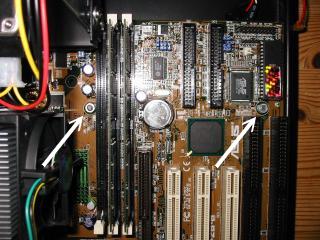
The above steps are sufficient to fix the board using two nuts on the two newly added screws described above. But be very caucious! In order to tighten the nuts, you have to use long tongs and be very careful never to touch the mainboard's surface with the ends of the tongs!
Now as you have tested and verified that your P2B-B fits perfectly into the IBM XT case, dismount your mainboard and prepare your IBM XT case for the I/O devices.