
go back to Part 1: Mounting the ATX
power supply
go back to Part 2: Mounting the mainboard
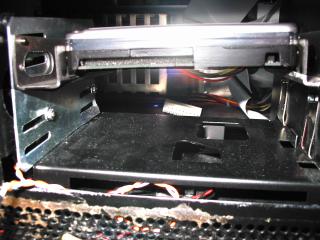
You only need one plate for each bay. On the inner side of each bay, I just bent two PCI/ISA adapter slot plates into a U-shape so that they just support the drives from below. The drives are not fixed with screws to those plates and are only fixed on the outer side of each bay. The disk drive touches only one of the plates (invisible in this picture). However, I fixed the two plates with one nut and bolt each.
In the next picture, you can see both plates as viewed from the front of the case:

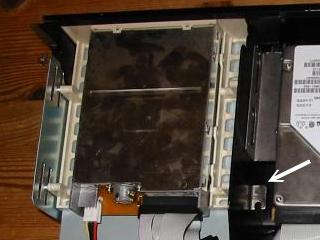
The next pictures show the left drive bay from the front side of the case. (Please note that in this picture, the drive is not fixed at the rear left in order to be able to lift the drive and mount the mainboard):
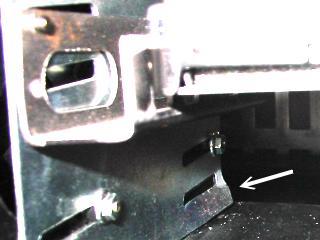
The left plate has to be bent at the rear or it will touch the lock of the mainboard's DIMM socket as mentioned above:
Now you should be safe to fix your mainboard again.
proceed to Part 4: Mounting the CPU
and adding two front USB slots