go back to Part 1: Mounting the ATX
power supply and the power button
go back to Part 2: Mounting the mainboard
go back to Part 3: Mounting the I/O
devices
On the P2B-B Rev. 1.02 mainboard (previous revisions do not support 1 GHz Celerons - see http://www.asuscom.de/de/support/techmain/FAQ/mobo_cpu/faq086_CPU_Upgrade_III.htm (German language but mostly tables)), I set the P2B-B jumpers to 100 MHz FSB (FS0, 1, 2: 1-2; FS3: 2-3). BF jumpers are ignored.
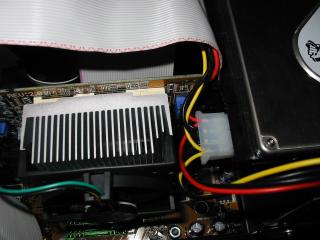
In order to insert the socket 370 CPU/slotket adapter combination, I had to lift the hard disk. After the CPU/adapter were in place, I could fix the second screw of the hard disk and I took the following photographs:

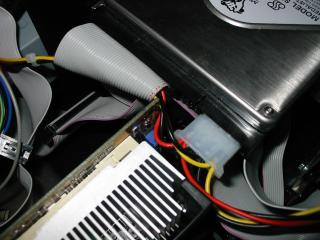
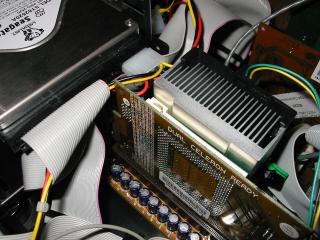
One can see that the power inlet for the disk drive just does not touch the heat sink. With other slotket adapters, the situation may be different. However, there is some space for the disk drive at the front side so you can place it in a greater distance to the heat sink.
Now I integrated an ASUS USB adapter into the front cover of the original
IBM MFM full height disk.
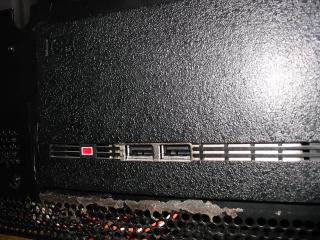
I first extended some of the existing holes of the front disk cover
using a sharp nife and rasp. The following picture shows the complete front
cover:
In order to mount the USB adapter, I bent two short plates about 90 degrees, drilled two holes into each of them, mounted one end to the front cover and one end to the USB adapter, as you can see below:
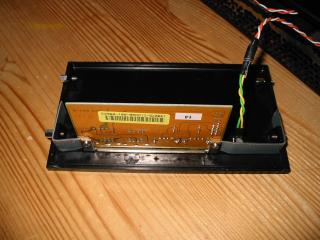
By extending the cables of the original disk activity LED, I could attach the LED to the mainboard's IDE activity connector.
Mounting the front cover is a bit tricky. In a first attempt, I inserted two screws into the two right thread holes (front cover viewed from front) so I could insert the right side of the cover into the XT case. In order to fix the left side, I used a rubber band (short arrow) which I attached to one screw in the upper left thread hole of the front cover (upper long arrow) and to one screw inside the case which fixes the hard drive (third arrow):
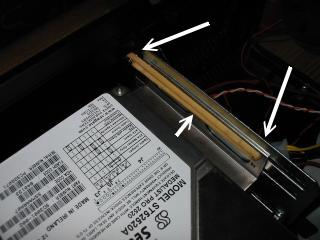
However, this solution has the disadvantage that when pulling USB cables
out of the slot and not holding back the hard disk front cover, the rubber
band will probably be released and fly just into the CPU fan (I had luck,
and it stopped some centimeters before).
So the best solution may be just to glue the black hard disk front
cover to the case.
---
Finnally, close the IBM XT cover and start your PC! Or, better,
think again of all the steps and ask yourself questions like:
"Did I carefully clean the XT case inside so that not the smallest
piece of metal can move around and short circuit the mainboard?"
"Did I double check all mainboard and slotket jumpers, the placement
of the heat sink and the attachment of the CPU fan power cables so that
my CPU survives the first power on?"
"Did I really use an ATX power supply when changing the P2B-B's
keyboard
power on jumper, or do I want to hear steady beeping of the loadspeaker
after power on?"
"Did I attach the power cable to both power supply and power
outlet?"
"Did I attach a keyboard?"
"Did I resist putting three DIMMs into the mainboard?"
"Was all this really necessary?"
"Is my other computer still running so I can instantly write
an email to Bernd, however without the slightest guarantee of any response?"
"Do I really expect Bernd to answer within the next hours or
days?"
"Will I write an email to Bernd after a successful power up and
thank him for his web pages?"
"Will I resist writing an email to Bernd after unsuccessfully
attempting or deciding not to build a 1 GHz IBM XT and ask him if he wants
to sell his XT?"
